How to Storyboard for Stop motion
Creating a storyboard allows you to explore different narrative possibilities and visual styles, experimenting with how scenes transition and how characters interact with their environments. It’s a crucial tool for planning your animation, allowing you to visualize the story and make necessary adjustments before you start shooting. By having a detailed visual plan, you reduce the risk of encountering major issues during production, ensuring a more efficient workflow and a more cohesive final product.
Pro tip -> Use AI Storyboard Generators to speed up your process!
You can try this ai storyboard generator by signing up here
Why is Storyboarding Important in Stop Motion?
Storyboarding is particularly important in stop motion animation because it helps you plan out each shot meticulously. Stop motion requires a significant amount of time and effort, as you need to adjust your characters and sets frame by frame. Without a clear plan, it’s easy to get lost in the minutiae, leading to wasted time and resources. A storyboard provides a clear roadmap, allowing you to focus on what truly matters for the story.
A well-thought-out storyboard ensures that you don’t waste time or resources on unnecessary shots, allowing you to focus on the critical elements of your story. It also helps in identifying potential challenges early in the process, such as complex camera movements or intricate character interactions, giving you the opportunity to strategize and solve problems before they become costly issues during production. In essence, storyboarding is your chance to fine-tune the narrative and visual elements, ensuring your animation is as compelling and polished as possible.
Steps to Create a Storyboard for Stop Motion
1. Define Your Story
Before you start drawing your storyboard, you need to have a clear understanding of your story. What is the main message or theme? Who are your characters, and what challenges do they face? Consider writing a brief outline of your story, highlighting the key plot points and character arcs. This outline will serve as a guide, helping you determine which scenes are essential and how they contribute to the overall narrative.
It’s crucial to delve deep into your characters’ motivations and the setting in which your story takes place. Think about how these elements influence the plot and how they can be visually represented in your storyboard. Understanding the emotional beats and the pacing of your story will inform your decisions on how to structure each scene and what visual techniques to employ to enhance storytelling.
2. Break Down the Script
Once you have a solid grasp of your story, break down the script into individual scenes and shots. Each scene should have a specific purpose, moving the story forward or revealing something about the characters. Identify the most critical moments in each scene and think about how you want to portray them visually. This breakdown will help you prioritize key scenes and ensure that every shot serves a purpose.
As you break down your script, consider how each scene transitions to the next. Smooth transitions can maintain the story’s momentum, while abrupt changes might be used to emphasize dramatic shifts. Pay attention to the sequence of events and make sure they logically and emotionally lead from one to the next, creating a cohesive and engaging narrative flow.
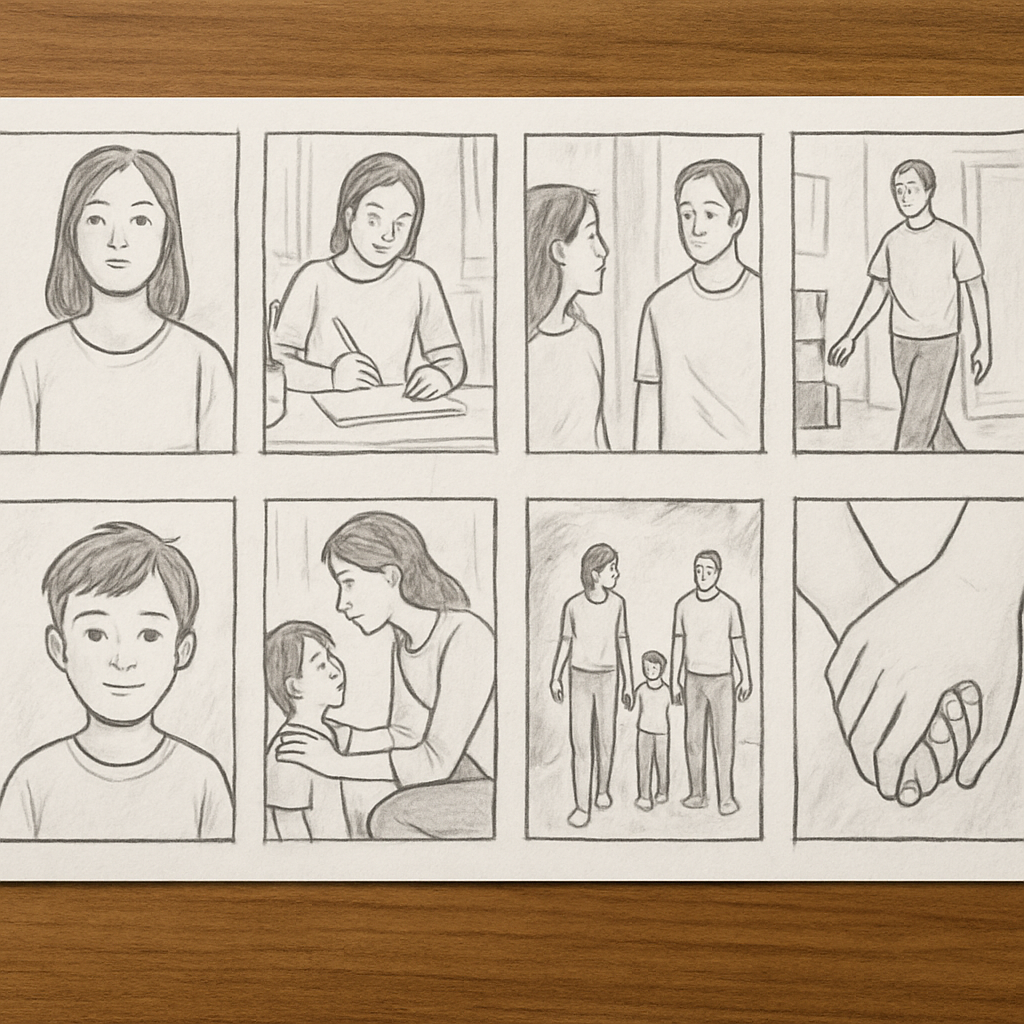
3. Sketch Your Panels
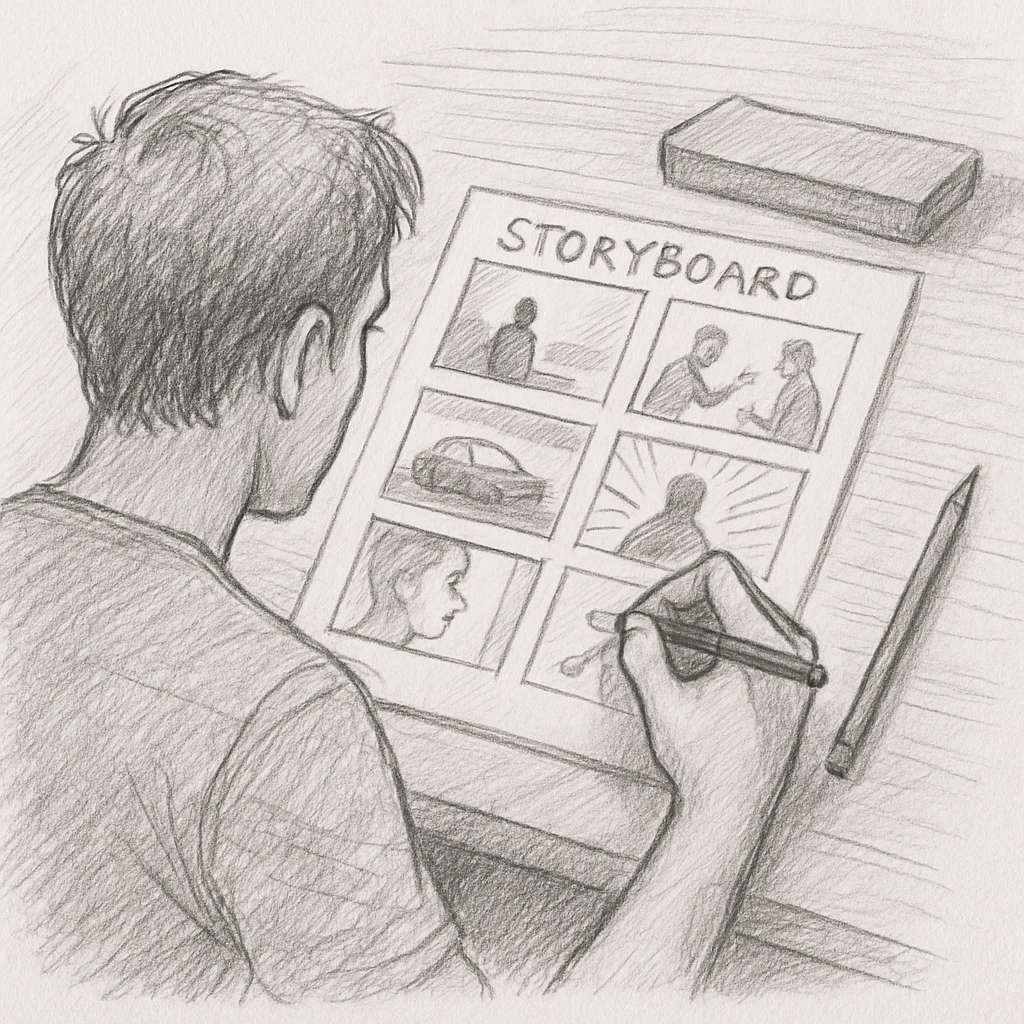
Pay attention to the camera angles, character positions, and any important props or backgrounds that need to be included. Consider how these elements contribute to the storytelling. For instance, a high-angle shot might make a character appear vulnerable, while a close-up could highlight their emotional state. Experiment with different compositions to see how they affect the mood and focus of each scene.
4. Plan the Timing and Pacing
Consider the timing and pacing of each scene and shot. How long should each shot last? How does the pacing affect the overall mood and flow of your story? These questions are vital as they determine how the audience will experience your animation. Fast-paced scenes might convey excitement or chaos, while slower scenes can evoke tension or introspection.
Make notes on your storyboard to indicate the duration of each shot and any specific movements or actions that need to occur. This will help you maintain consistency and ensure that the pacing aligns with the emotional beats of your story. It’s also beneficial to think about the rhythm of the scenes and how they interconnect, creating a dynamic and engaging viewing experience.
5. Add Dialogue and Sound Notes
Incorporate any dialogue or sound effects that are essential to your story. Write down the lines of dialogue next to the corresponding panels, and make notes about any sound effects or music cues that need to be included. Sound is a powerful storytelling tool, and synchronizing it with your visuals can greatly enhance the emotional impact of your animation.
Consider how dialogue and sound can complement the visual storytelling and enhance the audience’s understanding of the narrative. Sound cues can be used to build tension, suggest off-screen action, or underscore a character’s internal thoughts. Planning these elements in your storyboard ensures a cohesive integration of audio and visual components, creating a more immersive experience.
6. Review and Revise
Once you’ve completed your storyboard, take a step back and review it as a whole. Does the story flow smoothly from one shot to the next? Are there any gaps or inconsistencies that need to be addressed? Reviewing your storyboard with a critical eye will help you identify areas for improvement, ensuring that your story is as strong and coherent as possible.
Don’t be afraid to make revisions, as a well-polished storyboard will save you time and effort during the actual animation process. Consider seeking feedback from peers or collaborators who can offer fresh perspectives and insights. This collaborative approach can uncover new possibilities and strengthen the overall quality of your storyboard, setting a solid foundation for your animation project.
Pro tip -> Use AI Storyboard Generators to speed up your process!
You can try this ai storyboard generator by signing up here
Storyboard Ideas for Stop Motion
Use Color to Enhance Your Storyboard
Adding color to your storyboard can help convey the mood and tone of your scenes more effectively. Use different colors to distinguish between characters, props, and backgrounds, making it easier to visualize the final animation. Color can also be used to highlight emotional shifts or thematic elements, providing visual cues that enhance the storytelling.
Experiment with different color schemes to see how they influence the atmosphere and emotional impact of your scenes. Consider how colors interact and how they can be used to draw attention to specific elements or actions within a shot. By thoughtfully integrating color into your storyboard, you can create a more vivid and compelling narrative experience.
Experiment with Different Angles and Perspectives
Don’t be afraid to experiment with various camera angles and perspectives in your storyboard. Unique angles can add depth and interest to your shots, making your stop motion animation more engaging for the audience. Consider how different perspectives can emphasize certain aspects of your story or convey a particular mood.
Playing with angles can also help you explore new ways of storytelling, providing opportunities to surprise and captivate your audience. Think about how an unusual perspective might reveal hidden details or alter the viewer’s perception of a scene. This experimentation can lead to innovative visual storytelling that sets your animation apart.
Incorporate Dynamic Movement
Consider how you can incorporate dynamic movement into your storyboard. Stop motion allows for a wide range of creative possibilities, so think about how you can use movement to enhance your story and captivate your viewers. Movement can convey energy, emotion, and intent, adding a layer of complexity and excitement to your animation.
Think about how characters move through their environment and interact with each other, as well as how objects or backgrounds might shift to reflect changes in the story. Dynamic movement can also be used to transition between scenes or highlight key moments, creating a fluid and engaging narrative flow.
Create a Digital Storyboard

If you prefer a more modern approach, consider creating a digital storyboard using software or apps designed for animation. Digital storyboards can be easily edited and shared with your team, making collaboration more efficient. They also offer the flexibility to incorporate multimedia elements, such as sound clips or animated sequences, enhancing the storytelling potential.
Digital tools often provide templates and features that streamline the storyboarding process, allowing you to focus on creativity and narrative structure. By utilizing digital storyboards, you can quickly iterate on ideas, experiment with different approaches, and maintain an organized and accessible project workflow.
Use Storyboard Templates
If you’re new to storyboarding or looking for a quick way to get started, consider using storyboard templates. These templates provide a structured layout for your panels, helping you organize your thoughts and focus on the visual storytelling. Templates can be a valuable resource, offering guidance and inspiration as you develop your storyboard.
Templates often come with guidelines for framing, composition, and pacing, which can be especially helpful for beginners. By using templates, you can ensure that your storyboard maintains a professional appearance while freeing yourself to concentrate on the creative aspects of your project. This approach can help streamline the early stages of storyboarding, allowing you to progress quickly and efficiently.
Pro tip -> Use AI Storyboard Generators to speed up your process!
You can try this ai storyboard generator by signing up here
Conclusion
Storyboarding is a vital step in the stop motion animation process, providing a clear roadmap for your project and ensuring that your story is effectively communicated. By following these tips and exploring different storyboard ideas, you’ll be well-equipped to create a captivating stop motion animation that resonates with your audience. The time and effort invested in creating a detailed storyboard will pay off in the quality and coherence of your final animation.
So grab your pencils or digital tools, and start bringing your animated stories to life! Embrace the process of experimentation and refinement, and remember that a well-crafted storyboard is the first step towards a successful and engaging stop motion animation. With your blueprint in hand, you’re ready to embark on the exciting journey of bringing your imaginative worlds to life frame by frame.
Pro tip -> Use AI Storyboard Generators to speed up your process!
You can try this ai storyboard generator by signing up here